
In this tutorial, we will see how can we include Salesforce Lightning Design System (SLDS) component into a node application. But, before this please read this blog (Build Simple Application by Node JS) first.
In the previous blog (Build Simple Application by Node JS), we have seen how will we execute a simple node application by express server framework. Now, we will include SLDS component into the same application. So, please maintain all the following steps:
Step 1: Open VS Code and open the same folder named “simple-node-app“.
Step 2: Open the terminal from your VS Code by using Shortcut Key (ctrl + `) (for windows).
Step 3: Now, we will install SLDS Library into the node_modules folder by executing the following command from the terminal of VS Code.
npm install @salesforce-ux/design-system
Step 4: After installation, you can see that dependency files are upgraded with @salesforce-ux/design-system in package.json file as per the following image.

We can get all the SLDS details from this url: https://lightningdesignsystem.com
Step 5:(optional): Please create a .gitignore file in the project’s root directory. This file will direct
the respective files/modules to be ignored during git push process. Here, we don’t want to push the “node_modules” folder in GIT repository. So, we will update the .gitignore file in this way:
# Tooling files
node_modules
Step 6: Create an index.html file in the project’s root directory with the following code snippet:
<html lang="en">
    <head>
        <title>HTML with SLDS by Node</title>
    </head>
    <body style="background-color:rgb(243, 242, 243)">
       <div class="slds-card">
          <div class="slds-p-around_medium">Hello World!</div>
       </div>
    </body>
</html>
We will just show the “Hello World!” message.
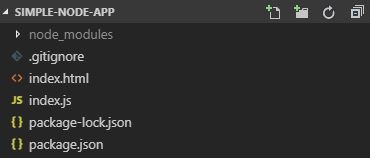
Step 7: Now, the structure of our project looks like:
Step 8: Now, open the index.js file and update the code snippet with the following lines:
const express = require('express');
const app = express();
const path = require('path');

var PORT = process.env.port || 3001;

const SLDS_DIR = '/node_modules/@salesforce-ux/design-system/assets';

app.use('/slds', express.static(__dirname + SLDS_DIR));

app.get('/', function (req, res) {
  //res.send('Hello World!');
  res.sendFile(path.resolve('index.html'));
});

app.listen(PORT, function () {
  console.log(`App listening on port ${PORT}`);
});
Here, you can see we have changed multiple lines. Let’s discuss one by one:
- We have declared a constant variable named “SLDS_DIR” where we have given the pathname in which salesforce-lightning-design-system styles folder exists.
- Next, we are passing this variable in express.static() method with “__dirname” to declare the “/slds” path at line no. 9. So, for the next time, in the html file, if we need to call the salesforce-lightning-design-system.css we only need to use “/slds/styles/salesforce-lightning-design-system.css“.
- In the next step, we will call our index.html file by using the following syntax: res.sendFile(path.resolve(‘index.html’));
Step 9: Now, run the application by executing this command
node index.js
from the terminal of the VS Code. The application will be hosted on localhost:3001.
So, we will get the output in this url: http://localhost:3001 as per the following image
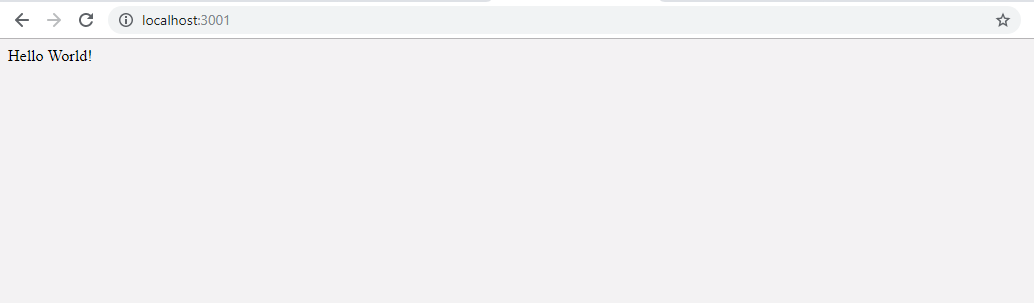
Oh no! But, we are not getting the styles from SLDS. Something is missing.
Don’t worry! Let’s execute the next Step.
Step 10: Please link the salesforce-lightning-design-system.css file in the header of the html file just like:
<html lang="en">
    <head>
        <title>HTML with SLDS by Node</title>
        <link rel="stylesheet" type="text/css" href="/slds/styles/salesforce-lightning-design-system.css" />
    </head>
    <body style="background-color:rgb(243, 242, 243)">
       <div class="slds-card">
          <div class="slds-p-around_medium">Hello World!</div>
       </div>
    </body>
</html>
Now, refresh your browser or executing this url: http://localhost:3001 again to see the correct output as per the following image

WOW! Now, we can see the “Hello World” message with SLDS design in SLDS card. Enjoy!!
![]()